We take more photos now than at any time in history (on average, there are more than 80 million pictures added to Instagram every day!), and with ever-improving smart phone cameras, even people without a fancy DSLR or mirrorless camera can snap beautiful pics at almost any time. It’s no surprise then that in the age of Instagram and filters, the bar for quality, eye-catching photos has been raised. If you’re looking for ways to take better pics, these 9 simple tips can help you up your photography game and have you taking better travel pictures faster than you can book your next flight.
1. Get the best lighting
 Harsh daytime lighting isn’t flattering for people, and it isn’t flattering for scenery, either. When you’re dealing with bright, midday sunlight, details tend to get washed out, nuance is lost, and image quality suffers. To guarantee the best lighting, this is a case of the early bird gets the worm. Wake up early to take advantage of the soft, dreamy morning light, and stay out later in the evenings to capture the universally flattering golden hour light of dusk and sunset; it’s during these times of day that photography magic happens.
2. Beat the crowds
Speaking of getting up early, that amazing shot of the Leaning Tower of Pisa you’re hoping to get will be best when you can shoot it without 500 tourists taking pictures of themselves ‘propping it up’ getting in the way of things. Generally speaking, people on holiday are sleeping in and enjoying slow, leisurly mornings. This is an ideal time for photographers to get up and out, taking advantage of the quiet, empty streets free from selfie-takers and Instagram influencers.
3. But also, incorporate people
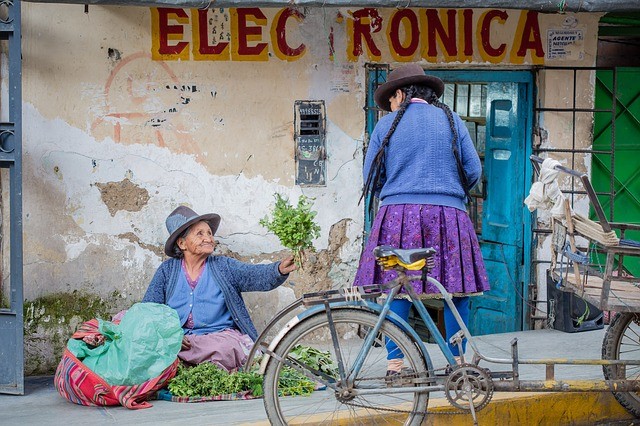
While throngs of tourists usually won’t strengthen the aesthetic of an image, people going about their everyday life in a scene can really enhance the feel of a photo, give a truer sense of a place, and create interest that static objects alone simply can’t achieve. Maybe it’s a street vendor selling fruit to her steady stream of regulars, or perhaps it’s an art-lover, appreciating and contemplating a masterpiece in a museum – whatever your human subject may be, including people in your photography can really bring your photos to life. It can also be a good way to strike up conversation with a local, since it’s always best to first ask permission before taking someone’s picture.
4. Consider composition
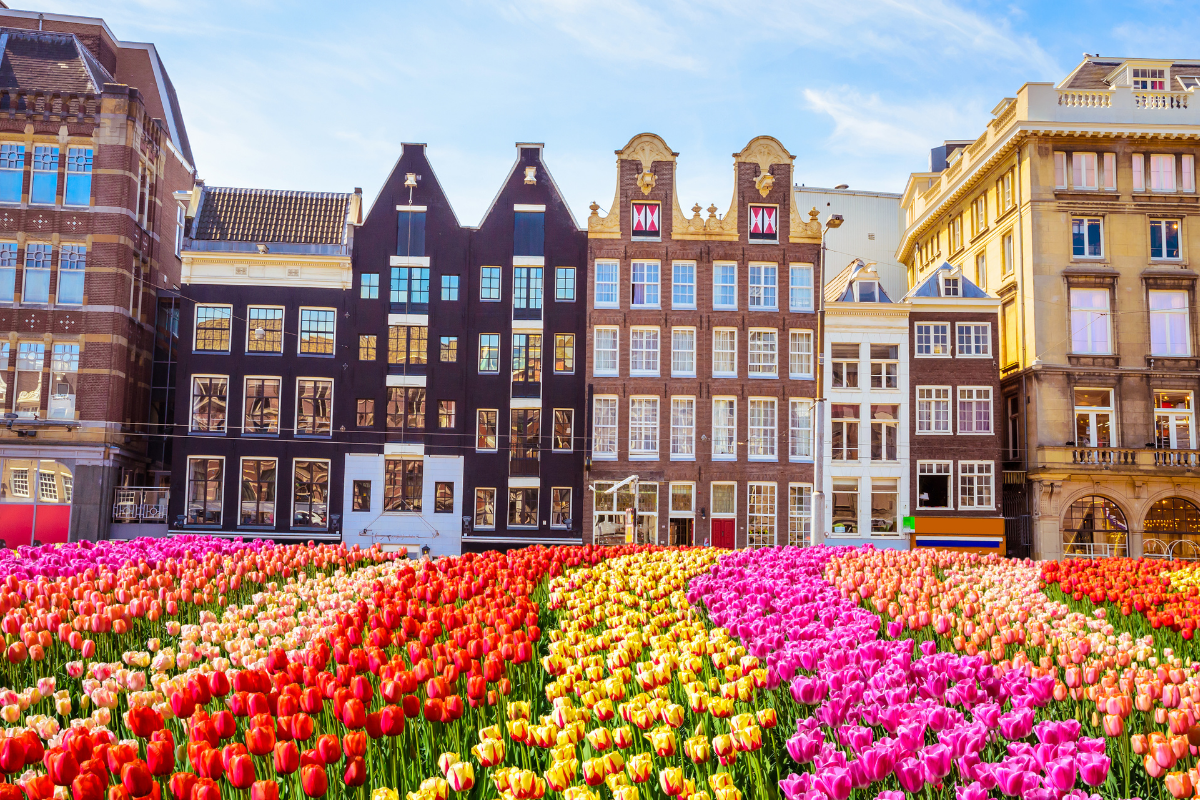
You’ve played around, found the best place and angle to take your picture, and now it’s time to point and shoot. But have you stopped to consider the composition of your photo? The rule of thirds is a good starting point, when deciding where your subject and its surroundings should sit in an image. Ever noticed the grid on your phone’s camera? Those 9 squares are there to help you place your subject, the horizon, and everything in the foreground in the ideal place. Experiment with placing your subject to the side rather than in the dead centre, as doing so will help draw the viewer’s eyes towards the subject, create balance, and make for a more interesting picture.
5. Move your body
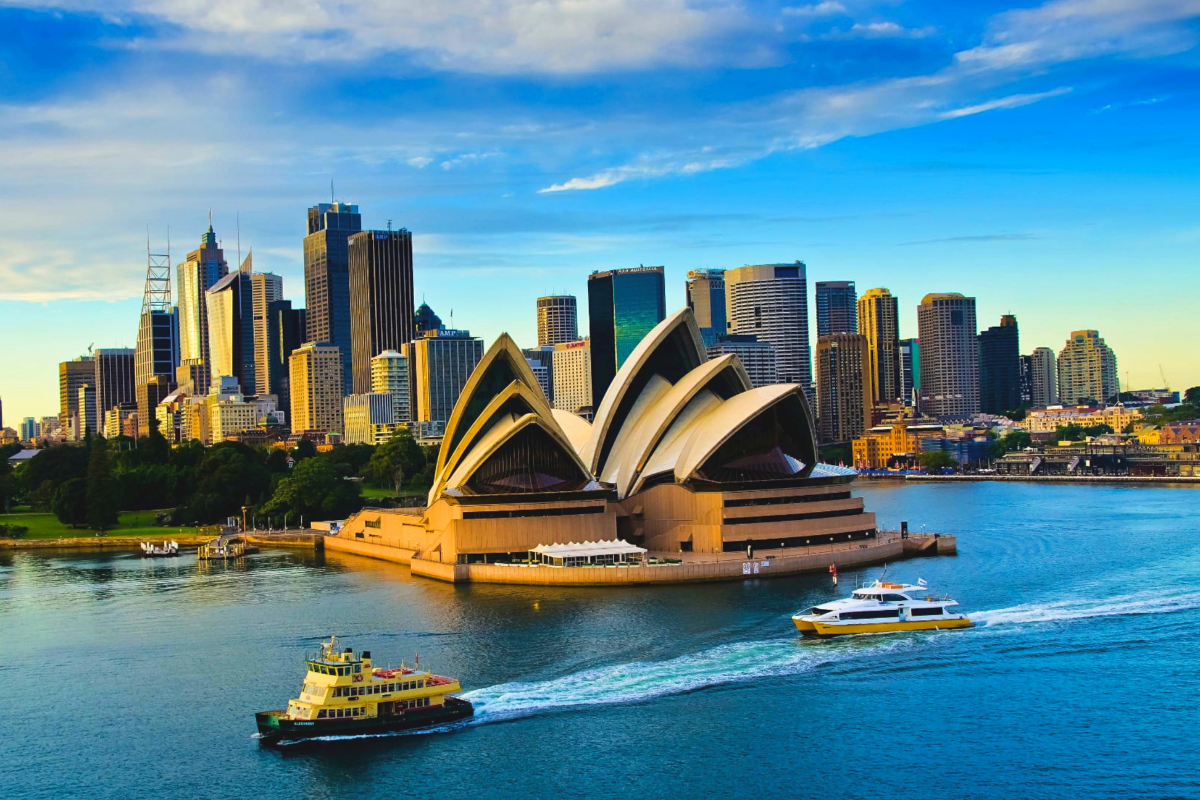
 Don’t rely too heavily on cropping your images later, and instead, practice moving around to try and find the angle you’re looking for. Moving around will force you to think creatively, try new things, and find unique perspectives – shooting from different vantage points and experimentation do pay off. Think about it: there’s an endless number of photos of iconic landmarks like the Eiffel Tower, the Brooklyn Bridge, and the Sydney Opera House, so it’s important to consider what new point of view you can offer to bring a fresh take on an old favourite.
6. Edit your photos
Mobile apps like Snapseed and Adobe Lightroom CC are free, powerful, and fairly simple tools for taking editing images on your phone to the next level. Don’t feel like editing a picture is cheating, we promise you it isn’t – all the pros do it! Taking the time to edit your pictures can not only elevate them, it allows you the chance to enhance and refine each detail until you’re left with a photo that truly conveys what you envisioned. If you’re on a computer, paid software like Photoshop, Lightroom, and Affinity Photo will offer more robust editing capabilities, however may not be as user-friendly for novices.
7. Accessorise
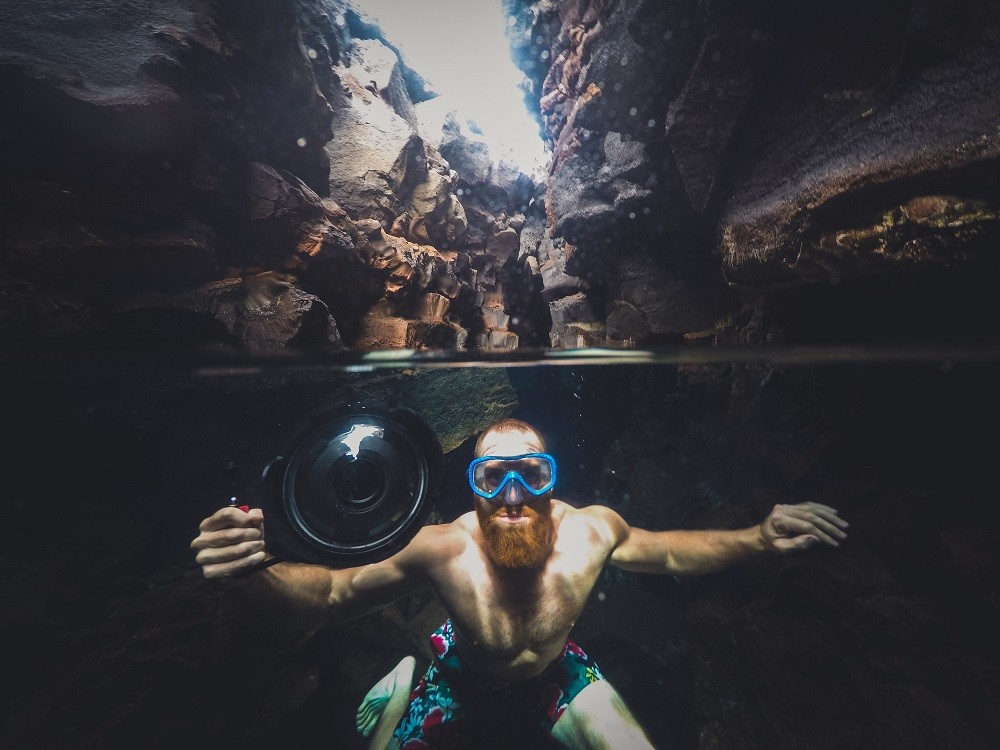 If you’re hoping to take night photos, time lapse images, long exposures, or self-portraits, a travel tripod will become your best friend. They’re small and portable, and often you can find ones whose legs bend and wrap around objects like poles, making them incredibly versatile, and the best part is that they aren’t just for regular cameras, but can be bought for phones, as well. If you’re shooting with your phone, you can purchase attachments by brands like Olloclip and Moment that can turn your phone’s camera into a telephoto, macro, fisheye, or wide-angle lens. If you’re travelling to somewhere lovely and tropical, or even just someplace where rain happens more days than not (we’re looking at you, Copenhagen), you might consider purchasing a waterproof case for your camera or phone so you can snap pics while snorkelling, surfing, or frolicking under waterfalls.
8. The best camera is one you have with you
Maybe you have a camera but don’t feel like carrying it around with you, or maybe you’ve got it but it’s in a bag and the perfect photo opportunity is about to pass you by. In these situations, the best camera is the one you have on you, whether that means your phone, a disposable point-and-shoot, a basic digital camera, or a higher-end DSLR or mirrorless. Don’t miss the moment simply because you don’t have your preferred camera in your hands and ready to go, we promise it isn’t worth digging through a bag to pull out a camera, lens, attach said lens, etc etc, when the moment is fleeting.
9. Read the manual
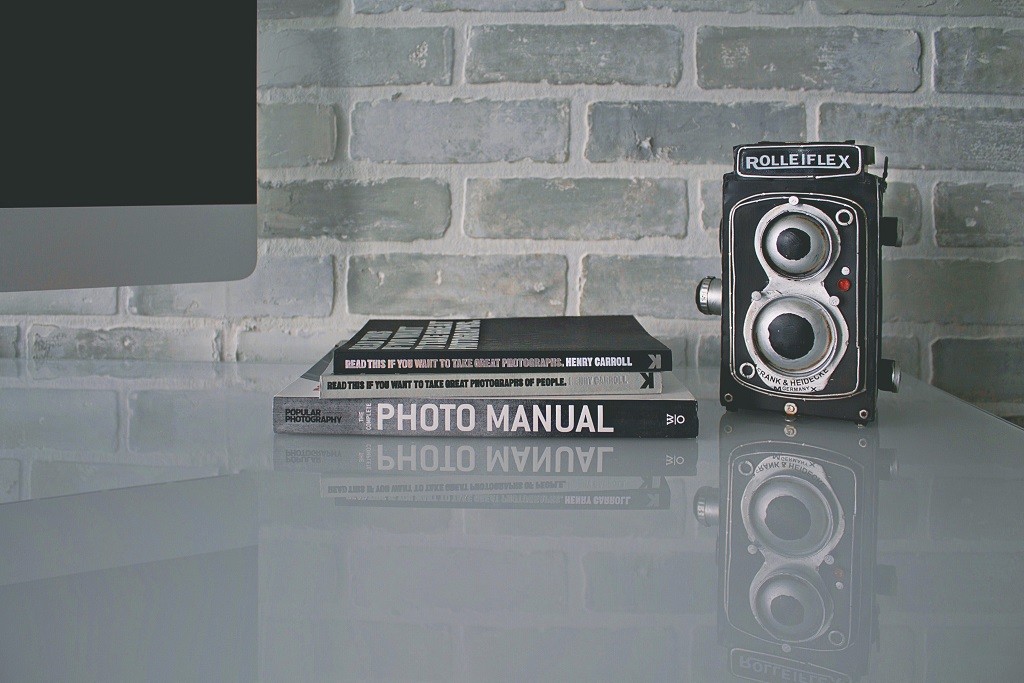 This might seem painfully obvious, but you’d be surprised how often this gets overlooked! If you’ve got a camera (other than the one on your phone) that has options for shooting in different modes, you’ll benefit hugely from taking the time to read through your camera’s manual and learning about its different settings and various capabilities. Even if you’re shooting with an iPhone, taking the time to learn your way around your phone’s camera can make a big difference! For example, did you know you can adjust the exposure before taking a picture on an iPhone by simply sliding the sun icon up or down? Knowing your way around your camera will ensure you’re able to take the best photos in the shortest amount of time, leaving you more time to explore, eat, and get to know the place you’re visiting, and isn’t that the whole point anyway?